Installing an above ground irrigation system transforms the way you water your landscape, offering a flexible and cost-effective solution for homeowners who want professional-grade results without the complexity of underground installation. Whether you’re managing a vegetable garden, maintaining a pristine lawn, or nurturing delicate flower beds, these versatile systems deliver precise water distribution while remaining completely accessible for maintenance and seasonal adjustments.
Understanding Above Ground Irrigation Systems
An above ground irrigation system consists of visible pipes, sprinklers, and distribution components that sit on or slightly above the soil surface. Unlike their buried counterparts, these systems offer immediate accessibility and simplified installation that doesn’t require trenching or disrupting existing landscaping.
The beauty of surface-mounted irrigation lies in its adaptability. You can easily modify the layout as your garden evolves, add new zones when expanding planting areas, or completely reconfigure the system if you redesign your outdoor space. This flexibility makes above ground systems particularly attractive for renters, seasonal gardeners, and anyone who values the ability to make quick adjustments.
Key Components of Surface Irrigation Systems
Every effective above ground irrigation system relies on several essential components working in harmony:
- Water source connection: Typically a hose bib or outdoor faucet with appropriate backflow prevention
- Distribution lines: Flexible polyethylene tubing or rigid PVC pipes that carry water throughout the system
- Sprinkler heads: Various types, including impact sprinklers, oscillating sprinklers, and micro-sprayers
- Drip emitters: For targeted watering of individual plants or containers
- Timer or controller: Automated scheduling ensures consistent watering even when you’re away
- Pressure regulator: Maintains optimal water pressure to prevent damage and ensure uniform distribution
- Filters: Protect emitters and sprinklers from debris and sediment
Installation Process and Best Practices
Setting up your above ground irrigation system begins with careful planning and mapping. Start by sketching your property layout, noting water sources, plant locations, and areas requiring different watering frequencies. Measure distances accurately to determine the amount of tubing and number of emitters needed.
Begin installation at your water source, installing a Y-splitter if you want to maintain regular hose access alongside your irrigation system. Connect your timer first, followed by the backflow preventer, pressure regulator, and filter in that order. These components protect both your water supply and irrigation equipment.
Lay out your main distribution lines along pathways or garden edges, securing them with landscape staples every 3-4 feet. Branch lines can extend from the main line to reach specific planting areas. Position sprinklers or drip emitters according to plant water requirements, ensuring overlapping coverage for lawns and adequate spacing for individual plants.
Strategic Placement Tips
Position impact sprinklers at corners and edges for maximum coverage efficiency. Place drip lines in mulched beds where they’ll be partially concealed while remaining accessible. Run distribution tubing along fences, walls, or garden borders where it’s less likely to be damaged by foot traffic or lawn equipment.
Advantages Over Underground Systems
Above ground irrigation systems offer numerous benefits that make them ideal for many situations. Installation costs typically run 40-60% less than underground systems since there’s no excavation required. You can complete most installations in a single weekend without professional help or specialized tools.
Maintenance becomes remarkably straightforward when all components remain visible and accessible. Identifying leaks takes seconds rather than hours of searching, and replacing damaged parts requires no digging. Winter preparation simply involves draining the system and storing removable components indoors.
Cost Consideration: While above ground systems offer lower initial investment, professional irrigation systems can provide long-term savings through water conservation and increased property value, making them worth considering for permanent installations where aesthetics and efficiency are priorities.
Types of Above Ground Irrigation Systems
Soaker Hose Systems
Soaker hoses deliver water directly to the soil through tiny pores along their entire length. These simple systems work exceptionally well for row gardens, hedge lines, and densely planted beds. They minimize water waste through evaporation and keep foliage dry, reducing disease risk.
Drip Irrigation Networks
Drip systems provide precise water delivery to individual plants through a network of tubes and emitters. This method excels in container gardens, raised beds, and areas with plants having varying water needs. Modern drip systems can reduce water usage by up to 50% compared to traditional sprinklers.
Sprinkler-Based Systems
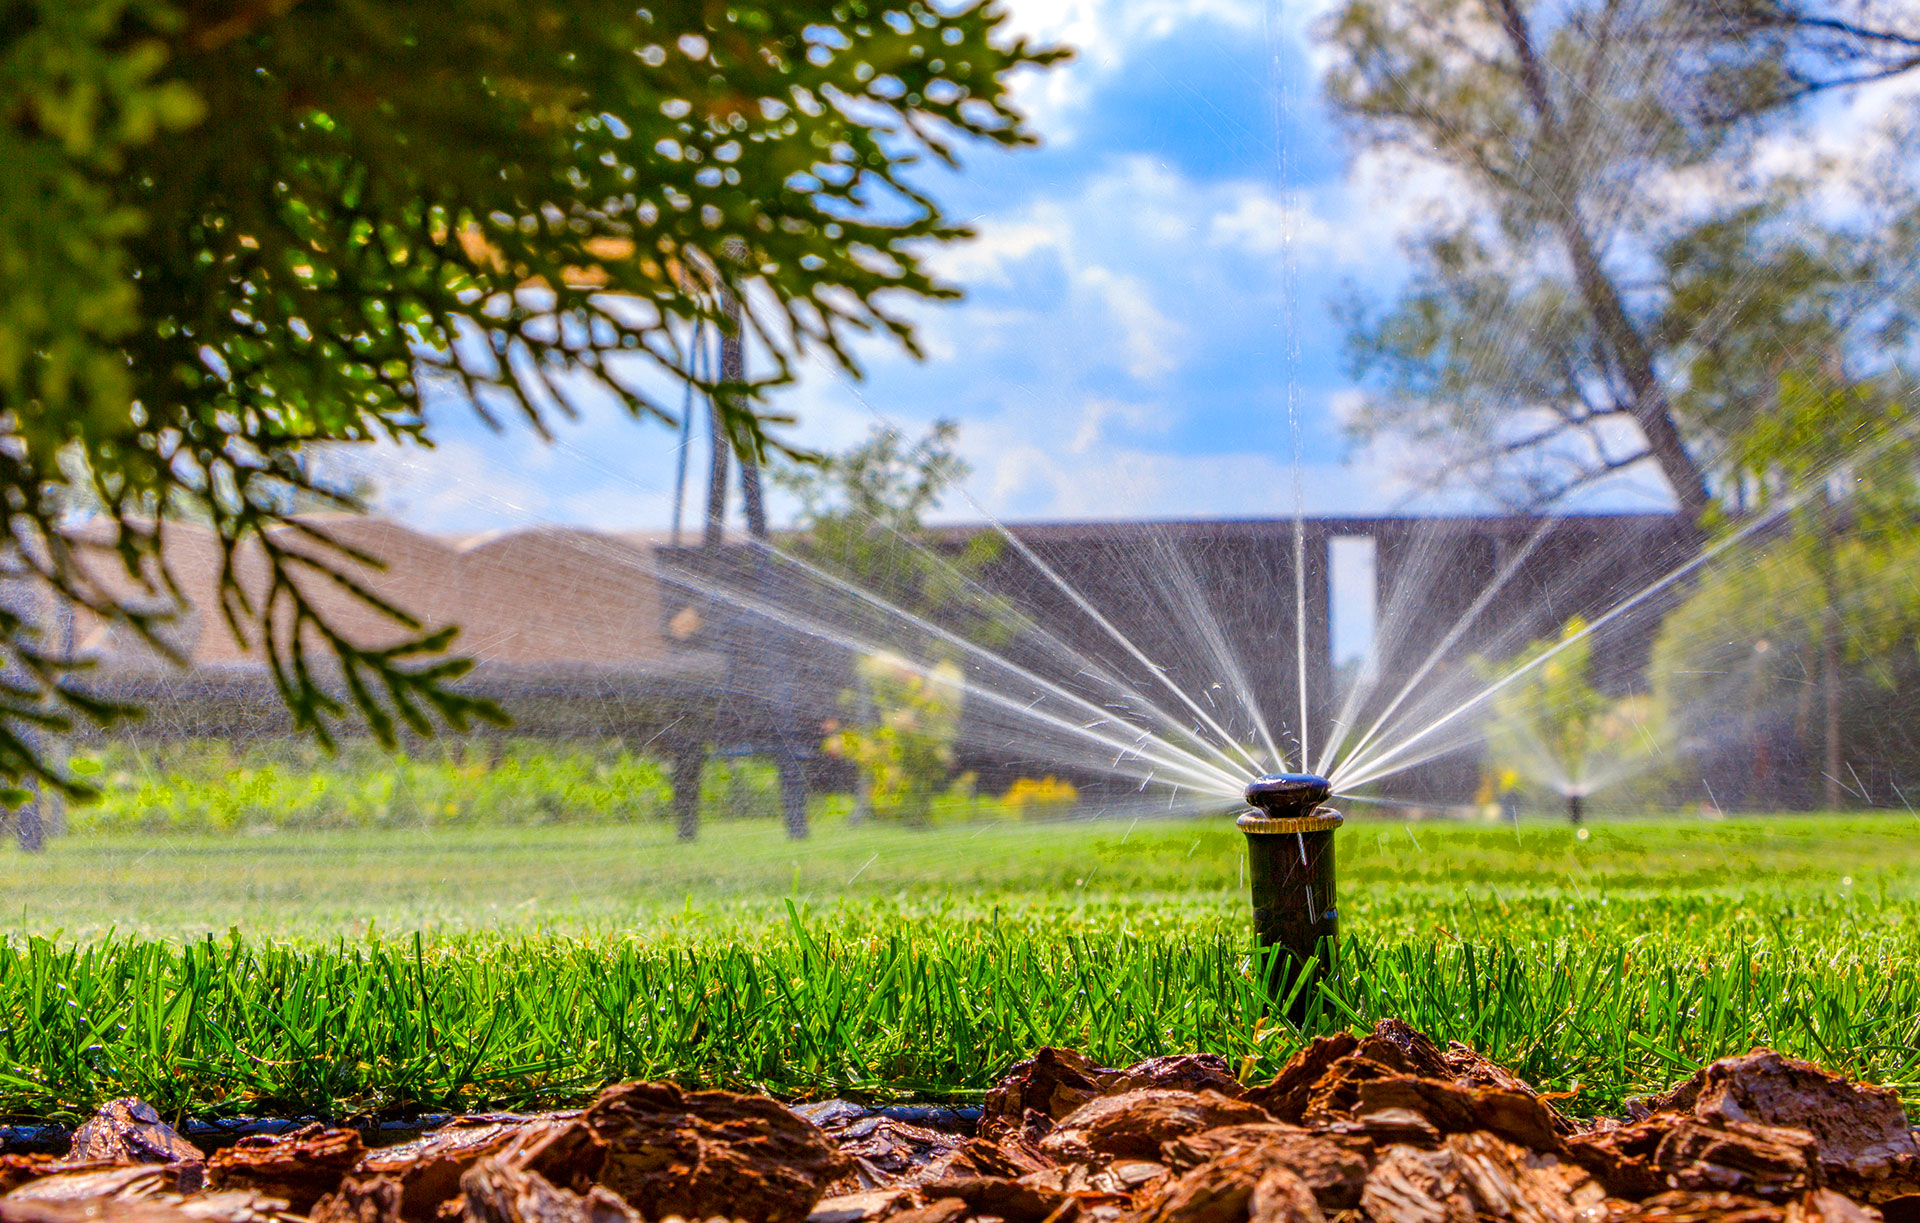
Portable sprinkler systems combine traditional sprinkler heads with semi-permanent piping. These setups work best for lawns and large uniform areas requiring overhead watering. Options range from simple impact sprinklers to sophisticated gear-driven rotors that mimic professional installations.
Optimizing Water Efficiency
Maximizing the efficiency of your above ground irrigation system starts with understanding your soil type and plant requirements. Sandy soils require more frequent, shorter watering cycles, while clay soils benefit from longer, less frequent irrigation to prevent runoff.
Install rain sensors or smart controllers that adjust watering schedules based on weather conditions. Group plants with similar water needs into zones, allowing you to customize irrigation duration and frequency for each area. Morning watering, ideally between 4 AM and 10 AM, minimizes evaporation losses and reduces disease pressure.
- Use mulch around drip emitters to reduce evaporation and maintain soil moisture
- Adjust sprinkler heads to prevent overspray onto hardscapes
- Regularly check and clean filters to maintain proper flow rates
- Monitor system pressure to ensure optimal performance
- Consider adding a moisture sensor for automated irrigation adjustments
Seasonal Maintenance Requirements
Spring maintenance involves inspecting all connections for winter damage, replacing worn washers, and testing each zone for proper operation. Clean or replace clogged emitters and adjust sprinkler patterns as plants grow.
Summer requires weekly system checks during peak watering season. Monitor for leaks, ensure timers function correctly, and adjust watering schedules during heat waves or rainy periods. Keep grass trimmed around sprinkler heads and remove any debris blocking water flow.
Fall preparation focuses on gradual watering reduction as plants enter dormancy. Clean filters thoroughly, check for calcium buildup on emitters, and begin planning any system expansions for the following year.
Winterization remains the most critical maintenance task in freezing climates. Drain all lines completely using compressed air or gravity drainage. Disconnect and store timers, pressure regulators, and filters indoors. Insulate any exposed components that must remain outside.
Troubleshooting Common Issues
Low water pressure often stems from clogged filters, too many emitters on a single line, or undersized tubing. Start by cleaning filters and checking for kinks in supply lines. If problems persist, consider dividing zones or upgrading to larger diameter distribution tubing.
Uneven water distribution typically indicates incorrect sprinkler spacing or mismatched head types within the same zone. Ensure all sprinklers in a zone have similar precipitation rates and adjust spacing to achieve proper overlap.
Frequent clogging of drip emitters suggests inadequate filtration or mineral buildup. Install a finer mesh filter and consider adding a calcium inhibitor if you have hard water. Regular flushing of drip lines prevents sediment accumulation.
Cost Analysis and ROI
Initial investment for a basic above ground irrigation system ranges from $100-500 for a typical residential yard, compared to $2,000-5,000 for professional underground installation. DIY installation eliminates labor costs, which often account for 50-60% of professional system pricing.
Operating costs remain minimal, with water usage being the primary expense. Efficient above ground systems can reduce water consumption by 30-40% compared to manual watering, translating to annual savings of $100-300 on water bills for average-sized properties.
While above ground systems may not increase property value as significantly as permanent underground installations, they offer immediate returns through water savings, reduced plant loss, and time saved on manual watering tasks.
Making the Right Choice for Your Property
An above ground irrigation system provides an excellent balance of functionality, affordability, and flexibility for many homeowners. These systems deliver professional-quality watering results while remaining completely accessible for modifications and maintenance. Whether you’re establishing a new garden, upgrading from manual watering, or seeking a temporary solution, surface irrigation offers immediate benefits without the commitment and expense of underground installation.
By selecting appropriate components, following proper installation practices, and maintaining your system regularly, you’ll enjoy years of reliable, efficient landscape irrigation that keeps your plants thriving while conserving water and saving time.